
This blog post may contain affiliate links. As an Amazon Associate I earn from qualifying purchases.
Sleeping through a chilly night outdoors often leaves novice and intermediate campers questioning their setup and comfort strategy. Staying warm is more than just piling on blankets—it starts with smart campsite selection, effective layering, and using the right gear for every climate you might face. This practical guide highlights reliable methods from campsite positioning to insulation techniques, helping you create a cozier, safer experience in the wild. For campers who crave maximum warmth and outdoor comfort, small adjustments can make every night more enjoyable.
Quick Summary
| Key Point | Explanation |
|---|---|
| 1. Select Campsite Wisely | Choose locations with natural windbreaks, such as trees, and avoid low areas to stay warm. |
| 2. Layer for Insulation | Use a combination of sleeping pads and thermal layers to create a barrier against cold ground and moisture. |
| 3. Optimize Your Clothing | Choose a moisture-wicking base layer, insulated mid-layer, and waterproof outer layer to maintain body warmth and dryness. |
| 4. Manage Tent Ventilation | Open small vents to allow air exchange while preventing heat loss, essential for a dry and warm sleeping environment. |
| 5. Monitor and Adjust Warmth | Regularly check body temperature and tent conditions, making quick adjustments to prevent chills and discomfort. |
Step 1: Assess campsite and position tent for maximum warmth
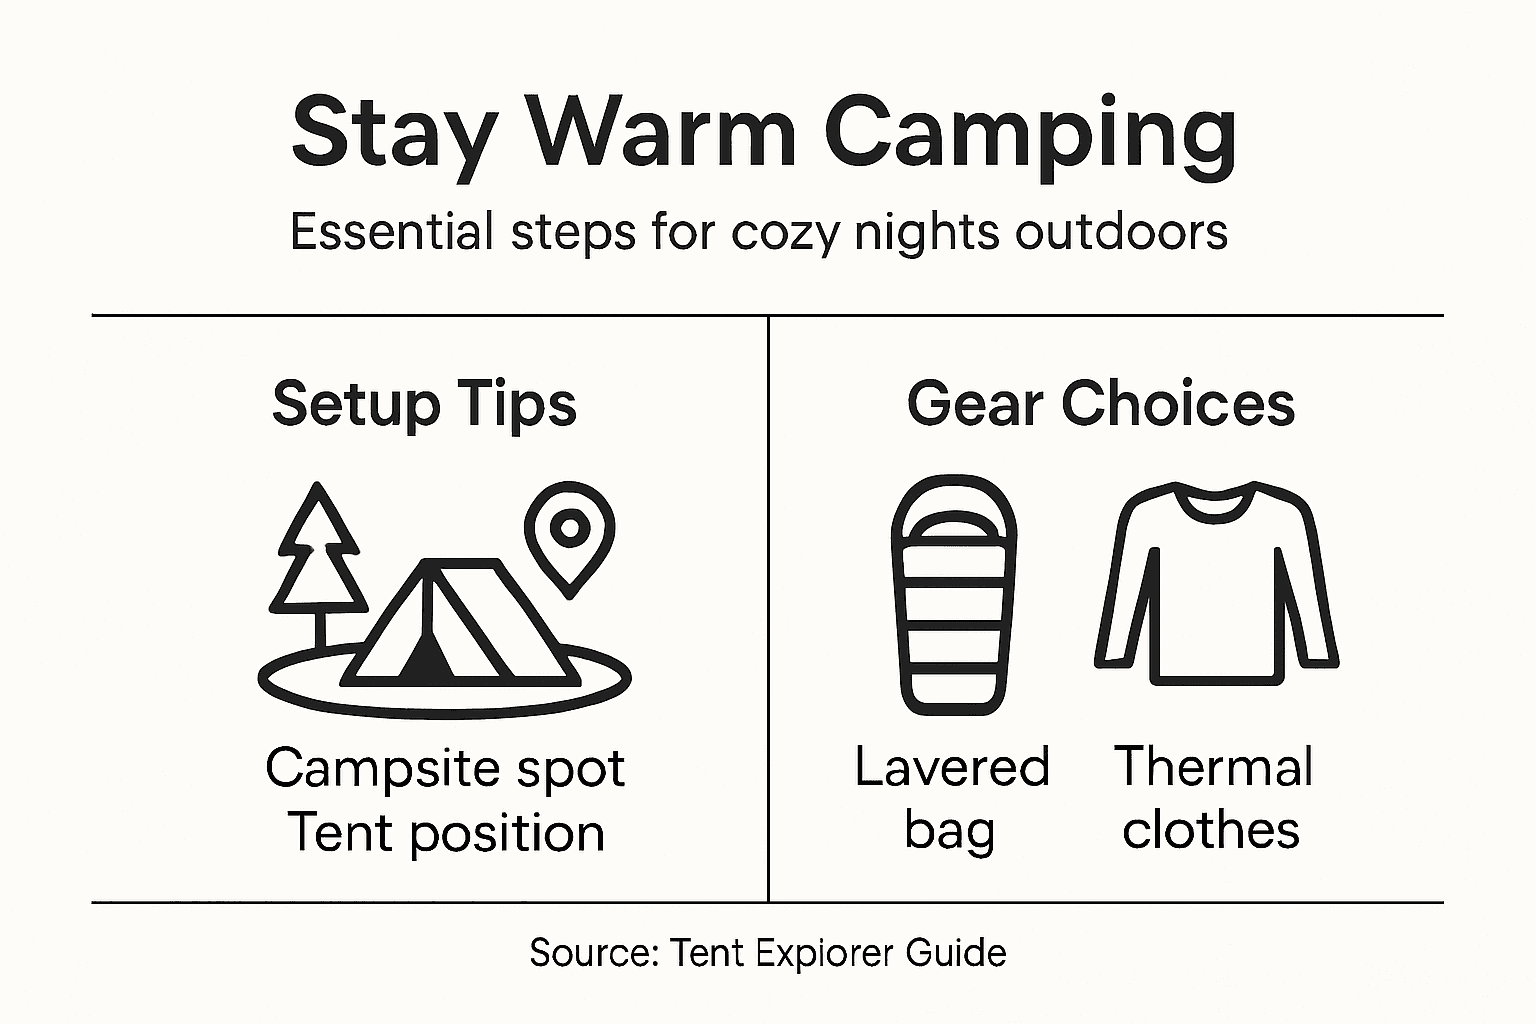
Selecting the right campsite and strategically positioning your tent can dramatically improve your comfort and warmth during overnight camping trips. Proper site selection isn’t just about finding a flat spot – it’s about understanding terrain, wind patterns, and natural environmental features that impact your sleeping conditions.
When choosing your campsite, prioritize locations that offer natural protection and optimal thermal conditions. Campsite assessment techniques recommend selecting areas with these key characteristics:
- Flat ground with gentle slope for drainage
- Protection from prevailing winds
- Natural windbreaks like trees or rock formations
- Elevated terrain to avoid cold air pockets
- Distance from water sources but not too far
Position your tent strategically to maximize warmth and minimize wind exposure. Aim to orient the tent entrance away from direct wind currents, ideally facing east to catch morning sunlight and provide natural warming. Look for spots with dense vegetation or terrain features that can block cold winds and create a natural insulation barrier.
Choosing the right campsite can make the difference between a miserable night and a cozy outdoor experience.
Carefully observe the landscape before setting up camp. Avoid low-lying areas where cold air settles and seek out slightly elevated ground with good drainage. Watch for natural windbreaks like large boulders, thick tree clusters, or small hills that can provide additional protection.
Here is a comparison of campsite locations and their impact on warmth:
| Campsite Location Type | Wind Protection | Drainage Quality | Typical Warmth Level |
|---|---|---|---|
| Forested area | Excellent with trees | Decent, roots present | Generally warmer |
| Open meadow | Poor, wind exposure | Good | Can be much colder |
| Next to water source | Minimal, breezy | Prone to moisture | Often colder and damp |
| Slightly elevated hill | Good, windbreaks needed | Excellent, water drains | Warmer, avoids cold pockets |
Pro tip: Scout your campsite during daylight and walk the area to identify potential wind tunnels and cold spots before committing to your tent location.
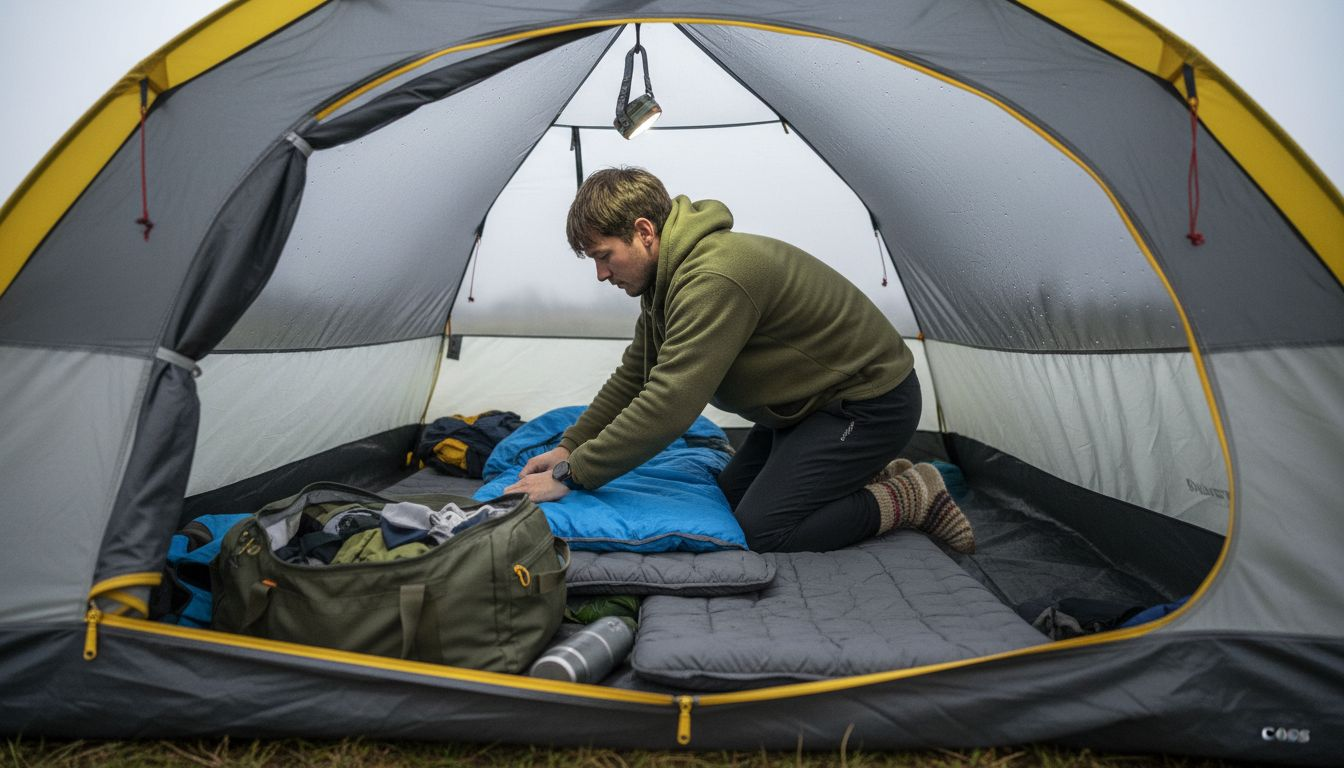
Step 2: Layer insulation and prepare sleeping area effectively
Creating a warm and comfortable sleeping environment is crucial for surviving cold nights in the wilderness. Your goal is to build a strategic insulation system that traps heat and prevents moisture buildup, ensuring you stay warm and dry throughout the night.
Start by understanding the principles of effective ground insulation. Choose the right combination of sleeping pads and layers to create a thermal barrier between your body and the cold ground. Your insulation strategy should include:
- A closed-cell foam pad for base insulation
- An inflatable sleeping pad for additional cushioning
- Optional additional thermal blanket for extreme conditions
Base layer strategy is critical for maintaining body warmth. Select moisture-wicking thermal underwear that fits snugly against your skin, creating a thin layer of warm air next to your body. This base layer will help regulate temperature and prevent sweating, which can lead to rapid heat loss.
Proper layering is your first defense against cold temperatures in the outdoors.
Arrange your sleeping bag with additional layers of insulation. Consider using a sleeping bag liner for extra warmth, and place a waterproof ground sheet beneath your sleeping pad to provide an additional barrier against cold and moisture. Wear clean, dry socks and consider adding a lightweight down jacket or fleece layer inside your sleeping bag for additional warmth.
Pro tip: Warm up your sleeping bag before getting in by using a hot water bottle or doing light exercises to generate body heat and pre-warm your sleeping environment.
Step 3: Select proper thermal gear and clothing for outdoor comfort
Successfully managing body temperature during camping requires strategic clothing selection that protects you from cold, moisture, and environmental challenges. Your clothing system is your primary defense against uncomfortable and potentially dangerous temperature fluctuations.
Designing an effective thermal clothing strategy involves understanding winter hiking gear essentials. Focus on creating a comprehensive layering system that manages moisture and provides insulation:
- Base layer: Moisture-wicking thermal underwear
- Insulation layer: Fleece or wool mid-layers
- Outer layer: Windproof and waterproof shell jacket and pants
- Extremity protection: Insulated gloves, warm socks, and protective headwear
Moisture management is crucial in thermal clothing selection. Choose synthetic or wool materials that wick sweat away from your skin, preventing rapid heat loss and maintaining consistent body temperature. Avoid cotton, which retains moisture and can lead to dangerous cooling when wet.
Your clothing is the first line of defense against cold and changing outdoor conditions.
Pay special attention to your extremities by selecting specialized gear that provides maximum protection. Invest in high-quality, insulated boots with waterproof exteriors, thick thermal socks, and gloves that offer both warmth and dexterity. Consider using gaiters to protect your lower legs from snow and moisture.
Pro tip: Pack an extra complete set of dry clothing in a waterproof bag, ensuring you can change into warm, dry layers if your initial outfit becomes wet during your camping adventure.
Step 4: Optimize ventilation while minimizing heat loss
Maintaining the right balance of airflow and warmth in your tent is crucial for a comfortable camping experience. Your goal is to create a ventilation system that prevents moisture buildup while preserving the precious heat you generate.
Understanding natural ventilation principles helps you design an effective tent airflow strategy. Focus on creating controlled air movement that supports comfort without compromising warmth:
- Positioning: Open vents on opposite sides of tent
- Airflow control: Use adjustable tent ventilation features
- Condensation prevention: Allow minimal strategic air circulation
- Temperature management: Monitor internal tent humidity
Strategic ventilation means carefully managing your tent’s air exchange. Small, adjustable vents work better than large openings, allowing minimal moisture escape while preventing excessive heat loss. Position these vents to create gentle cross ventilation without creating direct cold air streams.
Controlled airflow is the secret to maintaining a warm and dry camping environment.
Pay attention to condensation buildup, which can make your sleeping area damp and cold. Use mesh-covered vents that allow air movement while blocking wind. Consider using a rain fly with slightly raised edges to promote air circulation without direct drafts.
Here is a summary of essential tent ventilation tactics for warmth:
| Ventilation Method | Reduces Moisture | Maintains Heat | Best for Conditions |
|---|---|---|---|
| Cross-vent with small vents | Effectively | Very well | Cold, damp environments |
| Vents open at both ends | Moderately | Less effective | Mild, humid nights |
| Roof vent slightly open | Well | Efficiently | Frost-prone conditions |
| Large flap open | Very strongly | Poorly | Mild, dry weather only |
Pro tip: Before sleeping, briefly open all vents to exchange internal air, then carefully adjust to minimize heat loss while maintaining gentle air movement.
Step 5: Verify warmth and adjust setup for lasting comfort
Constantly monitoring and fine-tuning your camping warmth strategy is crucial for maintaining comfort and preventing cold-related risks during overnight outdoor adventures. Your ability to adapt quickly can mean the difference between a miserable night and a cozy wilderness experience.
Campsite warmth verification techniques help you stay ahead of temperature changes and potential discomfort:
- Check internal tent temperature regularly
- Monitor your body temperature and shivering response
- Assess wind exposure and draft points
- Have backup warming strategies ready
- Carry emergency thermal blankets
Body awareness is your most important tool for maintaining warmth. Pay attention to subtle temperature changes and address them immediately. If you start feeling cold, add an extra layer, adjust your sleeping bag position, or use hand warmers before the chill becomes uncomfortable.
Small adjustments can prevent significant heat loss and ensure your overnight comfort.
Prepare contingency plans for unexpected temperature drops. Keep additional clothing layers and emergency heat sources within easy reach. Understand the signs of potential hypothermia and be ready to add insulation or change your sleeping configuration if needed.
Pro tip: Keep a lightweight thermometer in your tent and perform a quick temperature check every few hours to stay proactively ahead of potential cold challenges.
Master the Art of Staying Warm with Expert Camping Tips
Facing the challenge of cold nights on your camping trips can feel overwhelming. This guide highlights crucial steps like choosing the best campsite, layering insulation effectively, and optimizing ventilation to keep you cozy. If you want to move beyond simply surviving the cold to truly enjoying your outdoor nights with confidence, our resources at Tent Explorer offer practical advice and gear reviews tailored to your needs.
Outdoor Living – Tent Explorer is the perfect place to dive deeper into strategies that enhance warmth and comfort while camping.

Don’t wait until the chill sets in to prepare. Visit Tent Explorer now to explore expert insights on tent selection, campsite setup, and thermal gear that will transform your cold weather camping experience. Take the first step to warm, safe, and unforgettable nights outdoors.
Frequently Asked Questions
How do I assess a campsite for warmth?
Choosing the right campsite involves looking for flat ground with good drainage, natural windbreaks, and slightly elevated terrain. Scout the area for features like trees or rocks to block cold winds and help maintain warmth.
What insulation layers should I use for my sleeping area?
For effective warmth, start with a closed-cell foam pad, followed by an inflatable sleeping pad for added cushioning. Use a thermal blanket if conditions are particularly cold to ensure a solid thermal barrier between your body and the ground.
What should I wear to stay warm while camping?
Wear moisture-wicking thermal underwear as a base layer, add fleece or wool for insulation, and finish with a windproof and waterproof outer shell. This layering system will keep you dry and warm in changing outdoor conditions.
How can I optimize ventilation in my tent while keeping warm?
To maintain warmth while allowing airflow, use small, adjustable vents positioned on opposite sides of your tent to create controlled cross ventilation. This setup will help prevent moisture buildup without losing significant heat.
What steps can I take to verify and adjust my warmth throughout the night?
Regularly check your internal tent temperature and listen to your body’s signals. If you feel cold, adjust your layers or sleeping position immediately to maintain comfort and prevent heat loss.
