This blog post may contain affiliate links. As an Amazon Associate I earn from qualifying purchases.
Last updated: March 2026 | Category: Outdoor Living
This post may contain affiliate links. As an Amazon Associate I earn from qualifying purchases. Please always check local fire regulations before lighting any campfire.
There is something almost primal about sitting around a campfire. The warmth on your face, the smell of woodsmoke, the way the whole camp seems to slow down and breathe. I have had some of my best camping conversations staring into flames.
But I have also watched a gust of wind carry a spark straight into dry grass, and I can tell you — that gets your heart racing in all the wrong ways.
Campfire safety is not about being overly cautious or taking the fun out of the evening. It is about making sure you and everyone around you actually gets to enjoy it. This guide pulls together everything you need to know: the rules to check before you even strike a match, how to build and extinguish a fire properly, and the mistakes most campers make without realising it.
Why campfire safety matters
Every year, wildfires caused by unattended or improperly extinguished campfires destroy thousands of acres of land and force evacuations. In the US alone, the National Park Service attributes a significant proportion of backcountry fires to campfire mismanagement.
Beyond the wider environmental risk, there are serious personal safety concerns. Burns, smoke inhalation, and fire spreading to a nearby tent — none of these are unlikely if corners are cut.
The good news is that almost every campfire incident is preventable. The steps are not complicated. They just need to become habit.
Before you light — check the rules
This is the step most campers skip, and it is the one that matters most.
Fire regulations change constantly, particularly in dry seasons. A campground that allowed open fires last summer may have a full fire ban in place this year. Ignoring a ban does not just carry a fine — in many US states it is a criminal offence, and you can be held liable for any fire damage caused.
Before your trip:
- Check the campground or land manager’s website. National forests, BLM land, state parks, and private campgrounds each set their own rules.
- Search for current fire restrictions on InciWeb or your state’s forestry department site.
- Call the campground directly if you cannot find up-to-date information online. It takes two minutes and removes any doubt.
- Check fire danger ratings on the day. Even if fires are technically permitted, a “High” or “Extreme” fire danger rating is a strong signal to skip the fire and use your camp stove instead.
Pro Tip: Download the free Wildfire Risk to Communities app or check your area on AirNow before you travel. If the fire danger is elevated, enjoy the stars from your camp chair instead — the campfire can wait for a safer evening.
Choosing a safe fire location
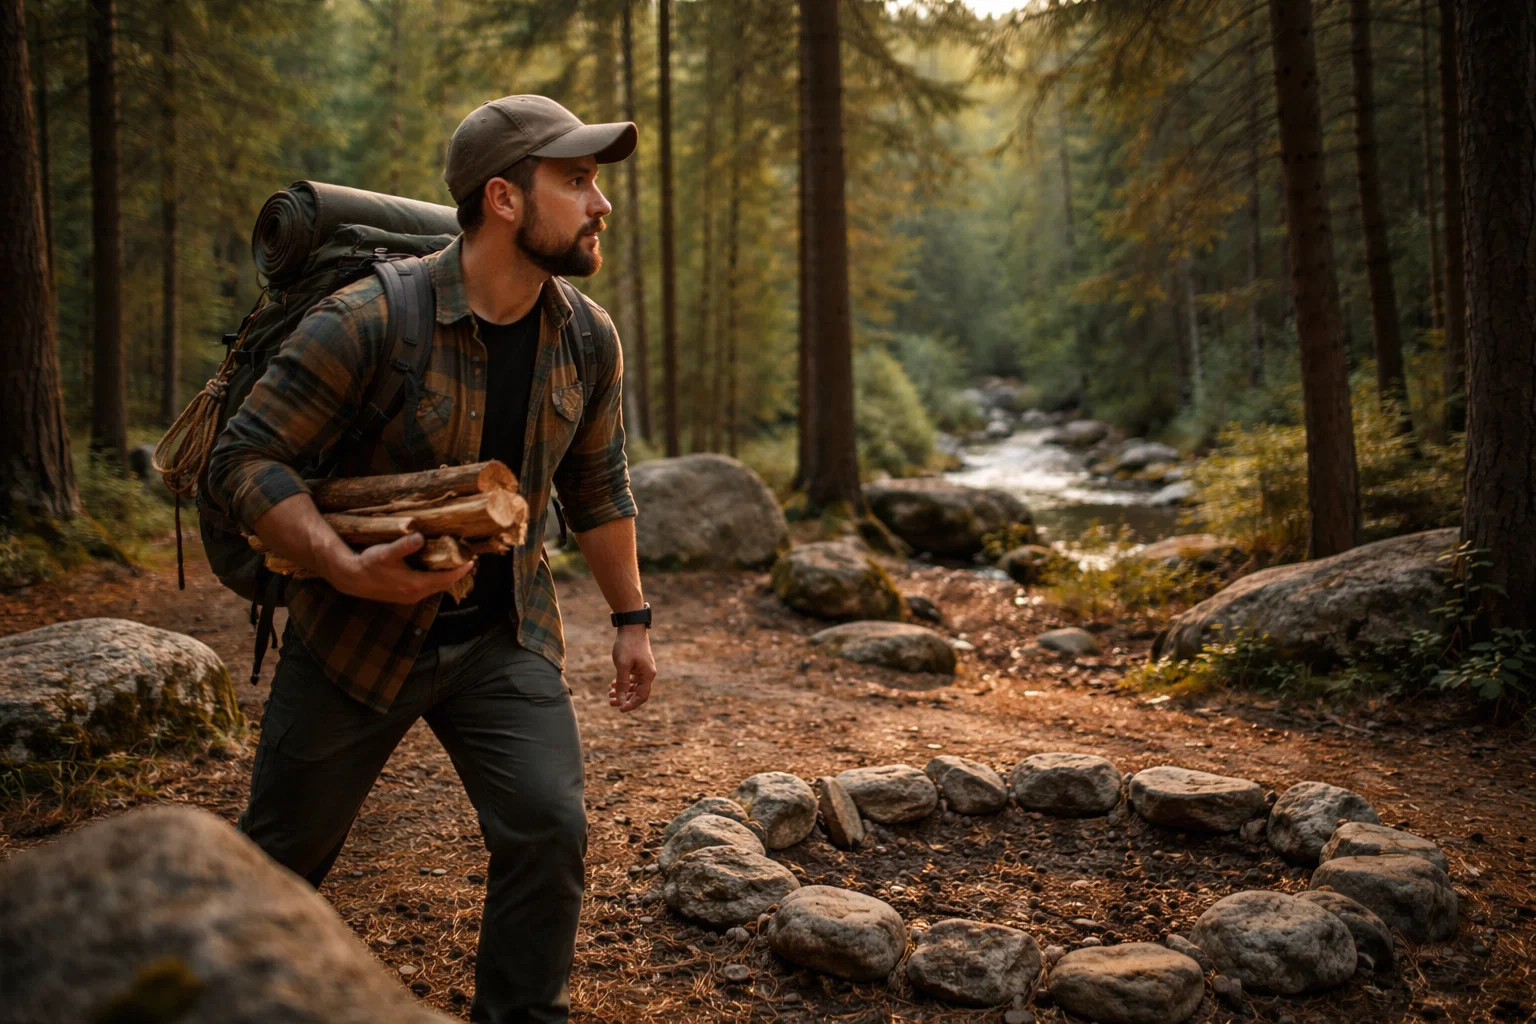
Where you build your fire matters as much as how you build it.
If the campsite has a designated fire ring or fire pit — use it. Always. These exist for a reason. Do not be tempted to create a second fire elsewhere, even if the pit is slightly inconvenient to where you are sitting.
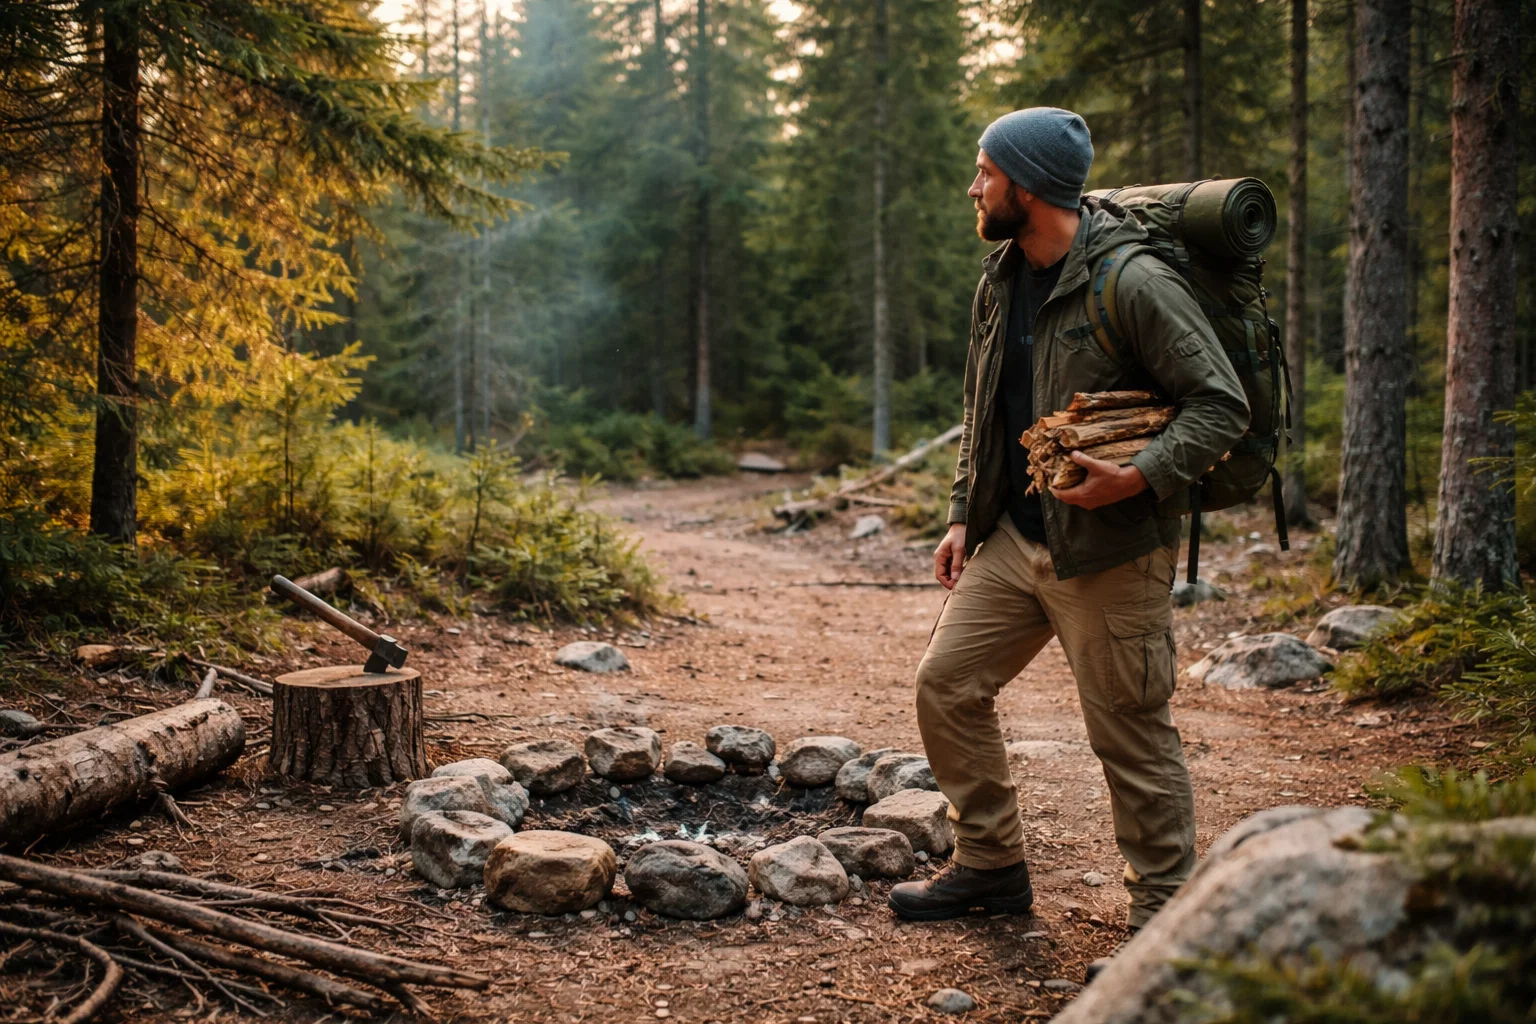
If you are in a dispersed camping area with no established ring, choose your spot carefully:
- Minimum 15 feet (around 5 metres) from your tent, tarp, and any gear. Embers travel further than you expect, especially in a breeze.
- Clear a 10-foot circle down to bare earth. Remove dry leaves, grass, pine needles, and any debris — these ignite easily.
- Look up. Overhanging branches directly above a fire are a serious hazard. If there are branches within 10 feet overhead, find another spot.
- Avoid building fires on slopes or near dry brush. Wind funnels up slopes and carries embers fast.
- Stay away from exposed roots. Tree roots can carry fire underground and emerge metres away — something I had no idea about until a ranger told me at Glacier.
In areas that require a Leave No Trace approach, consider a portable fire pan or mound fire built on an 8-inch mound of mineral soil, to avoid scarring the ground.
How to build a safe campfire step by step
I used to pile wood on and hope for the best. It produced a lot of smoke, not much heat, and one very impatient camp group. Here is how to actually do it properly.
What you need:
- Tinder: dry leaves, grass, birch bark, paper, or commercial fire starters
- Kindling: dry twigs and small sticks, thumb-thickness or thinner
- Fuel wood: larger split logs
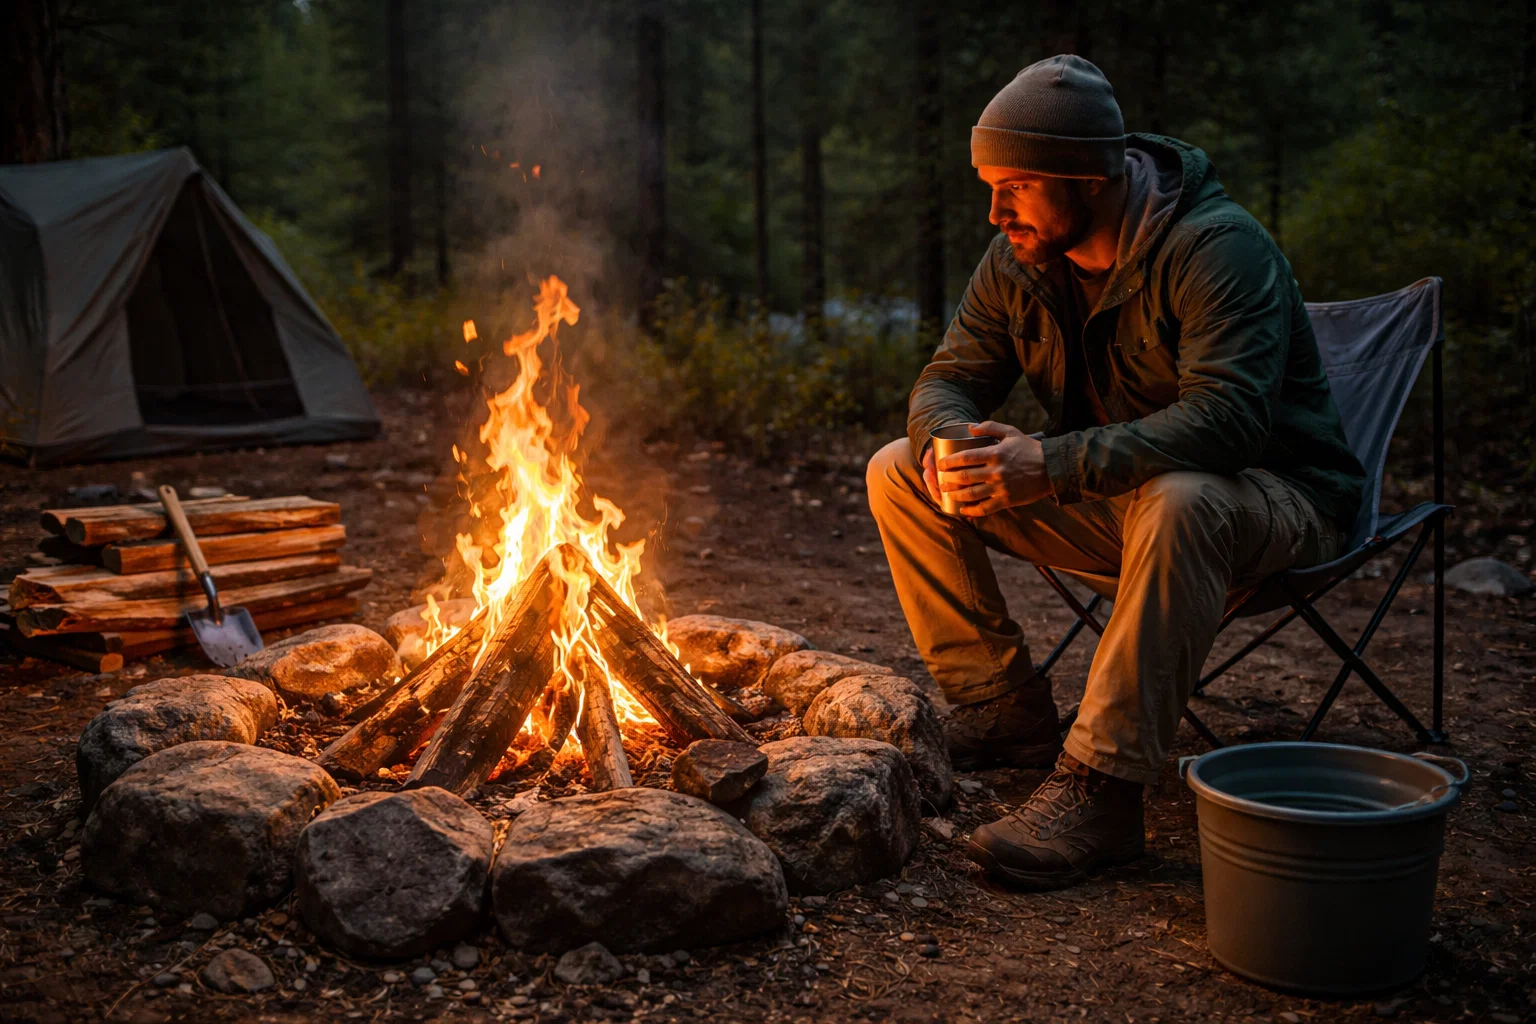
- A bucket of water and a shovel (non-negotiable — keep these within arm’s reach)
Step 1 — Prepare your fire ring. Clear the area, confirm your location is safe, and have your water source ready before you start.
Step 2 — Lay your tinder. Place a small, loose bundle of tinder in the centre of the fire ring.
Step 3 — Build a kindling structure. Use a teepee or log cabin shape around the tinder using your smallest sticks. Leave gaps — fire needs airflow.
Step 4 — Light from the base. Use a long match or a lighter to ignite the tinder at the base. Crouch low and light from the windward side so the flame is drawn through the structure.
Step 5 — Feed gradually. Once the kindling catches, add slightly larger sticks, and then your fuel logs once you have a proper base of flame. Resist the urge to pile everything on at once — smothering a young fire is one of the most common beginner mistakes.
Step 6 — Keep the fire manageable. A campfire does not need to be enormous to be enjoyable or functional. A moderate fire is safer, easier to control, and kinder on the wood supply.
Pro Tip: Only burn dry, seasoned hardwood. Green wood produces excessive smoke and creosote. Avoid burning rubbish, plastic, or treated wood — they release toxic fumes and leave residue that harms the environment.
Campfire safety checklist
Run through this before you settle in for the evening.
| Check | Done? |
|---|---|
| Fire regulations confirmed for this location | ✓ |
| Designated fire ring used, or a safe location prepared | ✓ |
| All flammable gear at least 15 feet from the fire | ✓ |
| Overhanging branches cleared above the fire | ✓ |
| Bucket of water within arm’s reach | ✓ |
| Shovel nearby | ✓ |
| Fire size kept manageable | ✓ |
| Children and pets supervised near the fire | ✓ |
| Fire never left unattended — not even briefly | ✓ |
| Fire fully extinguished before sleeping or leaving camp | ✓ |
Print this off or screenshot it. I keep a version in my camp kit bag.
How to extinguish a campfire completely
This is where most campfire accidents begin. People think a fire that looks out is out. It very often is not.
The only safe campfire is a cold campfire.
Step 1 — Stop adding wood at least 20–30 minutes before you want the fire out. Let it burn down to ash naturally.
Step 2 — Pour water slowly over the fire. Do not dump it all at once — pour gradually and spread it across all the embers, not just the visible flames. The hissing sound tells you there is still heat.
Step 3 — Stir the ashes with a stick or shovel. Mix the ash and embers together and expose buried coals, then pour more water.
Step 4 — Repeat. Keep adding water and stirring until all hissing has completely stopped.
Step 5 — The hand test. Hold the back of your hand several inches above the ash. You should feel no heat at all. If you feel warmth, keep going.
If no water is available: Use dry soil or sand. Stir it thoroughly into the embers, fully covering them. Never use dirt alone as a first choice — it can insulate embers and keep them smouldering underground for hours.
Important note: Never bury a fire thinking it will smother. Embers buried in soil can stay alive for days and reignite when conditions change.
What to do if a fire spreads
Stay calm, but act immediately.
- Shout for help to alert others in the camp.
- Use your water bucket and shovel to attack the edges of the spread first, not the centre. Cutting off the fire’s path is your priority.
- Call emergency services. In the US dial 911. In the UK dial 999. Do not delay this call trying to fight the fire yourself.
- Evacuate if the fire is spreading faster than you can control it. No campsite is worth risking your life. Grab your phone, keys, and medical kit if within immediate reach, then move away from the fire, crosswind if possible.
- Do not drive through smoke. If your vehicle is accessible and the route is clear, leave. If the route is blocked by smoke or fire, shelter in place in your vehicle with windows up and vents closed.
Report any wildfire you see or start — even small ones — to the local fire authority. Early reporting saves lives and land.
Common campfire mistakes to avoid
I have made most of these at some point. Learning them the easy way is far better than the hard way.
Building the fire too big. A large fire is much harder to control and extinguish. A smaller, well-built fire is more efficient and safer.
Leaving the fire unattended. Even for five minutes to get something from the car. Conditions can change shockingly fast. Assign someone to stay with the fire if you need to step away.
Using accelerants. Petrol, lighter fluid, or alcohol poured onto a fire causes explosive flare-ups. Start the fire properly with tinder and kindling.
Burning in windy conditions. Wind carries embers. If conditions are gusty, it is not the night for an open fire.
Not checking the rules in advance. This one still surprises me when I see it. Ten minutes of research before leaving the house prevents a lot of problems.
Assuming ash is cold. As covered above — it very often is not. Always do the hand test before leaving camp.
Leaving the fire ring messy. Partially burnt wood and ash left behind is bad campsite etiquette, and it can become a fire hazard for the next person. Leave your fire ring cleaner than you found it.
A campfire done right is one of the great simple pleasures of camping. Get the basics down, make these habits second nature, and it stays that way — enjoyable, warm, and completely under control.
Got a campfire tip I have missed? Drop a comment below — I read every one.
