This blog post may contain affiliate links. As an Amazon Associate I earn from qualifying purchases.
📋 Table of Contents
- Quick Summary
- Step 1: Select and Prepare Your Cooking Site
- Step 2: Gather Essential Outdoor Cooking Gear
- Step 3: Build and Manage Your Fire or Heat Source
- Step 4: Cook Meals Using Outdoor Techniques
- Step 5: Serve and Verify Meal Quality Safely
- Elevate Your Camping Meals With Expert Outdoor Cooking Guidance
- Frequently Asked Questions
- Recommended
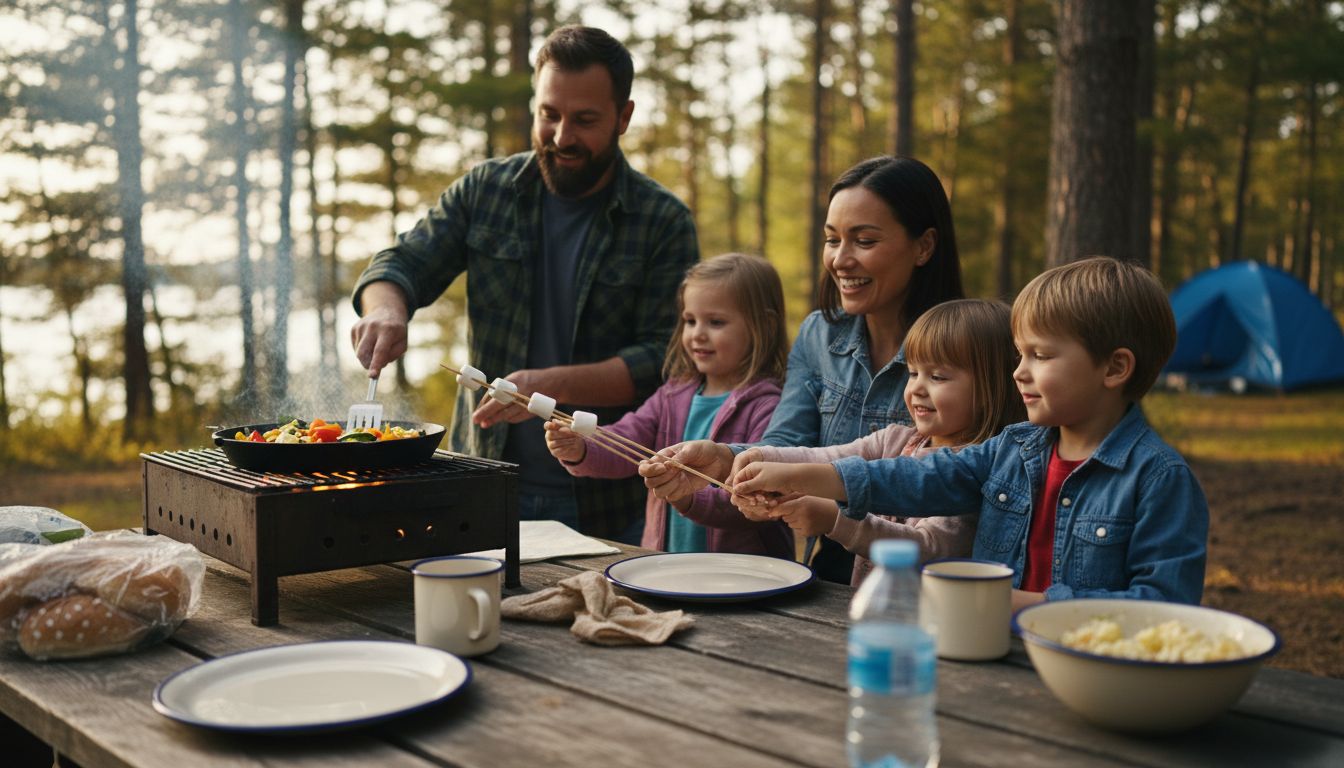
Over 40 million American families go camping every year, making outdoor cooking an essential part of their adventure. Choosing the right spot to prepare meals can be the difference between a safe, delicious outing and an inconvenient mess. This guide shows you how to plan your cooking site, pick smart gear, handle fire safely, and create satisfying meals while keeping your campsite eco friendly and organized.
Quick Summary
| Key Insight | Explanation |
|---|---|
| 1. Choose a Safe Cooking Site | Select a level ground area away from tents and flammable materials to ensure safety while cooking. |
| 2. Pack Essential Cooking Gear | Assemble a compact and multifunctional cooking kit to streamline meal preparation and maintain efficiency. |
| 3. Control Your Heat Source | Master fire management or heat control techniques to achieve precise cooking and prevent food burning. |
| 4. Practice Outdoor Cooking Methods | Utilize techniques like one-pot meals and foil packet cooking to maximize flavor while minimizing cleanup. |
| 5. Ensure Food Safety | Use proper food handling practices and a digital thermometer to verify safe cooking temperatures and prevent illness. |

- CAMPING COOKWARE SET: THTYBROS Camping Cookware Set includes: 1.70L(0.45gal) pot +1.15L(0.30gal) kettle + 7 inch frying pan, 2 x 200ml(0.05gal) stainless steel cups, 2 stainless steel plates, 2 sets of dinner cutleries (2 x forks, 2 x knives, 2 x spoons with 2 storage bags), 1 x bamboo spoon 1 x cleaning cloth 1 x cleaning ball 1 x carrying bag.
- FOOD-GRADE & HIGH QUALITY: Our camping cookware is made of high-quality hard anodized aluminum that meets the safety standards , guaranteeing your food’s safety and health. Non-toxic, lightweight, resistant to high temperatures, scratches, and corrosion, with high hardness, oxidation resistance, easy cleaning, fast heat conduction, and oil-saving features, this camping accessories set is reliable for outdoor use.
- USER-FRIENDLY DESIGN FOR CONVENIENCE – THTYBROS camping mess kit is surface-treated with wire drawing and oxidation to enhance its sturdiness and even heating. The silicone handle is heat-resistant and non-slip, designed ergonomically for a comfortable grip, ensuring your safety during use.
- SAFETY & EFFICIENT HEATING – Aluminum boasts better thermal conductivity than iron or titanium, allowing the camping pot heat up quickly and evenly. This not only reduces cooking time but also saves energy and fuel, making your outdoor cooking experience effortless and enjoyable. This camp cooking set is lightweight and durable, making it convenient for your camping trip while also guaranteeing excellent cooking results.
- All-in-1 Small Package- All piece nest great, and everything is stacked together and packed into a nylon mesh bag. Total weight is just 2.75lbs, and the package size measures 7.5×7.5×5 inches. You should definitely consider this set for both backpacking as well as traditional camping.
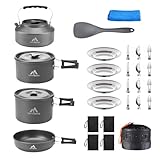
- All-in-1 Camping Kitchen: Complete 27-piece cookware set includes kettle, non-stick pots & pans, stainless steel plates, , forks/knives/spoons, spatula, storage bags, and quick-dry cleaning cloth.
- Ultralight & Space-Smart: Compact nesting design packs smaller than a football. Each piece (including kettle!) nests inside pots for maximum backpack portability. Total weight under 4.1 lbs.
- THTYBROS Durability Guarantee: Made with food-safe non-stick coating (scratch-resistant pots/pans) and premium 304 stainless steel (utensils, plates). Heat-resistant grips & sturdy rivets.
- Perfect for 2-4 Campers: Cook pancakes on the non-stick pan, boil water in the kettle, serve meals on unbreakable plates. Ideal for backpacking, car camping, RV trips, and picnics.
- Essential Bonus Accessories Included: Comes ready for camp life with key extras: a quick-dry blue microfiber cleaning cloth for easy cleanup, multiple heavy-duty storage/carry bags to organize gear, and a large mesh storage net bag for ventilation and carrying essentials.

- Freehiker brings you the ultimate outdoor utensil set, It is a complete and professional BBQ grill kit that will satisfy all your needs for cooking, perfect for travel, picnics, RVs, camping, hiking, backyard BBQ-ing, parties, concerts, sporting events, boat rides, mountaineering and more. BAG SPECS: 14.5” length, 9” width, 2” thick.
- A mini kitchen on the go- Our portable utensil organizer fits all the essential kitchenware for the comfiest outdoors dining experience: 1*storage bag, 1*cutting board, 1*barbecue fork, 1*slotted tongs, 1*paring knife, 1*chef’s knife, 1*wine opener, 1*can opener, 1*ladle, 1*scissors, 1*scraper, 1*slotted turner, 2*barbecue skewers, 2*extendable BBQ forks, 4*flatware cutlery set(3pcs). Plus, the bag has additional space so you can personalize your kit.
- Your grilling experience is our main design purpose, The perfect lightweight and ergonomic grips ensure avoiding getting burns and skids when the grilling action. Besides, the end hanging rings design enables easy to hang on everywhere when drying or not in use to save space and keep tidy. Meanwhile, these camping cooking utensils are lightweight, so you can turn or stir with ease and won’t get tired quickly.
- Robust cookware made for the outdoors, When outside of your home’s comfort zone, you need camping accessories you can count on, our outdoor cooking kit features cutlery made with high-end Stainless Steel for enhanced durability & reliability. Our utensils are also dishwasher-safe and are made to withstand years of constant use.
- A gift that keeps on giving- Make any Birthday, Father’s/ Mother’s Day, Anniversary, College Graduation, and Christmas memorable! If you have any problems, please feel free to contact us and we will try our best to solve your problem as soon as possible.
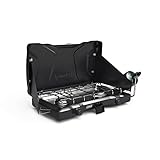
- PORTABLE: Easy addition to the campsite, picnic, roadside, and more
- TWO WIND GUARDS: Help shield and protect burners from wind
- HEAVY-DUTY LATCH: Easy to open and keeps the stove closed when not in use
- EASY TO CLEAN: Durable, chrome-plated grate is removable for easy cleanup
- IMPROVED KNOB ROTATION: For precise temperature and simmering control of two independently adjustable burners

- High OUTPUT – Most Fuel Efficient Butane Portable Stove On The Market – Boils Water quickly with 7,650 BTU Evenly Compared To Compeititors Portable Stoves/ To Be used with 8oz Butane Canister Only (Fuel Sold Separately)
- SAFETY FEATURES – Highest Safety Standard: CSA (US & Canadian Standards Association) Approved Portable, Easy To Use, Reliable For Camping, Outdoor Cooking, Home Emergency Kit, Etc. Equipped with Fuel Cartridge Injection safety feature, If the stove defects 0.7 kilogram force from canister, It will automatically ejects butane canister from the stove
- AUTOMATIC IGNITION – Piezo-Type Electric Starter With Safety Shut-Off System; No Matches Or Lighters Required
- Portable – Easy To Use, Reliable For Camping, Outdoor Cooking, Home Emergency Kit, Etc. *(Comes With Carrying Case/Complete With User Manual
- Quiet Operation – This stove provides clean efficient burn along with silent operation *OUTDOOR USE ONLY*
Last update on 2026-06-22 / Affiliate links / Images from Amazon Product Advertising API
Step 1: Select and Prepare Your Cooking Site
Selecting the right cooking site can make or break your camping culinary experience. Your outdoor kitchen needs careful planning to ensure safety, convenience, and minimal environmental impact.
First, scout for a level ground area that is at least 15 feet away from your tent and any flammable materials. The Girl Scouts of Virginia Skyline Council recommends choosing a spot free from overhanging branches that could potentially catch fire or drop debris into your cooking area. Look for natural windbreaks like large rocks or dense bushes that can help protect your cooking flame while maintaining proper ventilation.
Prepare your cooking site with environmental responsibility in mind. Use a portable camping stove or a designated fire ring if available, and always keep a bucket of water or sand nearby for emergency fire control. Consider bringing a collapsible wash basin and biodegradable soap to minimize your ecological footprint and keep your cooking area clean. Create a small work surface using a lightweight camping table or a flat rock, ensuring you have enough space to prepare and cook your meals comfortably.
Quick pro tip: Always clear the ground of dry leaves, twigs, and other flammable materials before setting up your cooking area. This simple step can prevent accidental fires and keep your campsite safe.
Step 2: Gather Essential Outdoor Cooking Gear
Packing the right cooking equipment transforms your camping meals from basic survival food to delicious outdoor cuisine. Smart gear selection means the difference between struggling with meal preparation and enjoying effortless campsite cooking.
Start by assembling a compact but comprehensive cooking kit. Professional camping experts recommend portable cooking tools that balance functionality and weight, focusing on multipurpose items that save space. Essential gear includes a lightweight camping stove with fuel, durable cookware like nesting pots and pans, heat resistant cooking utensils, a sharp camping knife, cutting board, and lightweight plates or bowls. Pack collapsible silicone containers for food storage and organization, which help maximize your limited camping space.
Prioritize gear that serves multiple purposes and can withstand rugged outdoor conditions. Bring a compact cooking set that includes measuring cups, a spatula, tongs, and a can opener. Invest in insulated containers for keeping food hot or cold, and dont forget basic cleaning supplies like biodegradable soap, quick dry towels, and trash bags to maintain a clean cooking environment. A portable water filtration system can also be crucial for meal preparation and cleanup.
Pro tip: Always test and familiarize yourself with new cooking gear before your camping trip. Practice setting up your stove, using your tools, and preparing a simple meal to ensure you can confidently cook in the wilderness.
Step 3: Build and Manage Your Fire or Heat Source
Mastering your campfire or cooking heat source is crucial for successful outdoor cooking. Understanding how to safely create and control your heat will determine the quality of your meals and overall camping experience.
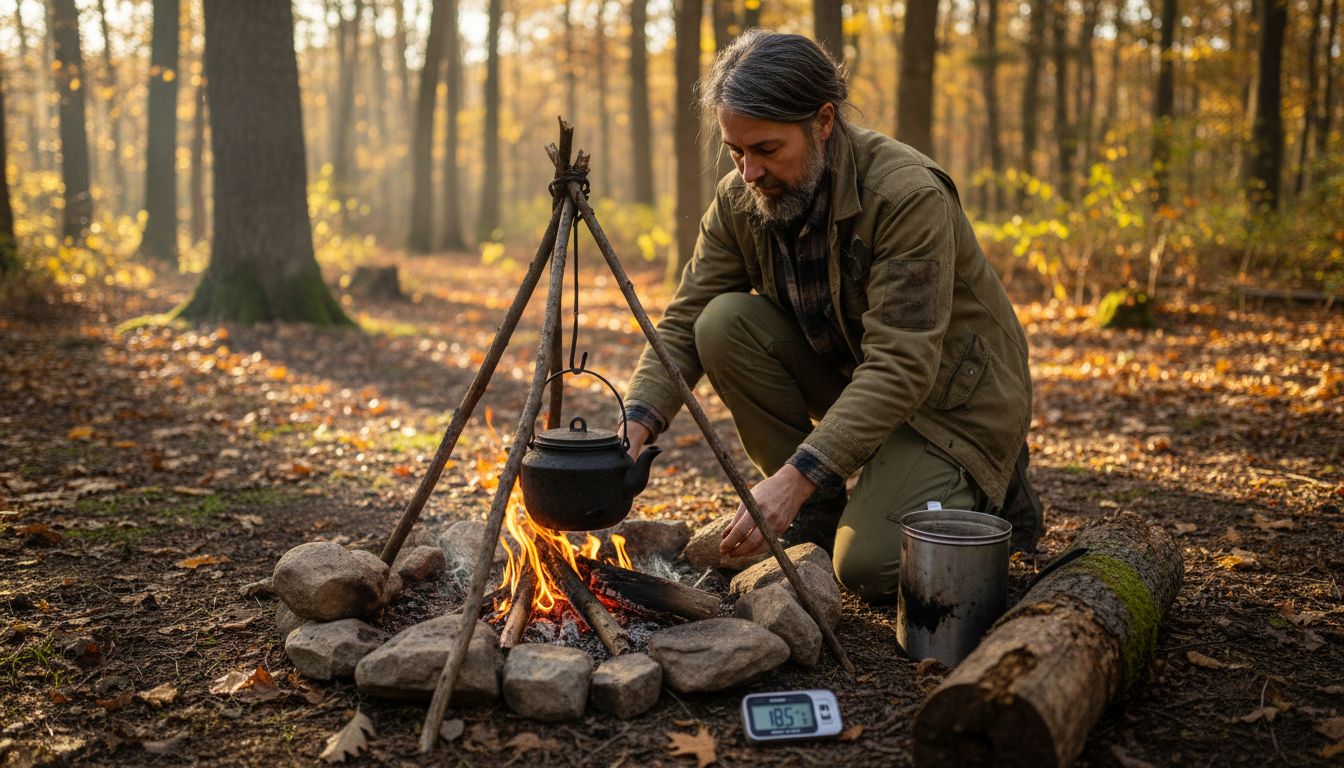
Outdoor cooking experts recommend exploring multiple heat source options that suit different camping environments and cooking needs. Portable camping stoves offer reliable and consistent heat for precise cooking, while traditional campfires provide a classic outdoor cooking experience. Choose between wood burning stoves, alcohol stoves, or solid fuel tablets based on your specific camping conditions and meal preparation requirements. When using a campfire, select a clear area away from overhanging branches, clear ground debris, and create a controlled fire pit with surrounding rocks to contain your heat source.
Pay close attention to fire management and safety techniques. Experienced outdoor chefs emphasize the importance of proper heat control and cookware selection to ensure even cooking and prevent food burning. Start with a moderate flame and adjust as needed, using cast iron cookware for consistent heat distribution. Keep a water bucket or fire extinguisher nearby, and never leave your cooking fire unattended.
Pro tip: Always completely extinguish your fire by drowning it with water, stirring the ashes, and checking for any remaining heat before leaving your campsite or going to sleep.
Step 4: Cook Meals Using Outdoor Techniques
Outdoor cooking transforms simple ingredients into delicious meals with unique flavors and techniques that differ from your home kitchen. Mastering these methods will elevate your camping cuisine from basic survival food to memorable wilderness dining experiences.
Start by understanding the core principles of outdoor cooking. One pot campfire recipes offer the simplest approach to creating satisfying meals with minimal equipment and cleanup. Use cast iron skillets for even heat distribution, and focus on techniques like foil packet cooking that seal in moisture and flavor. Prepare ingredients before your trip by pre chopping vegetables, marinating meats, and packaging spice mixes in small containers to streamline your campsite cooking process.
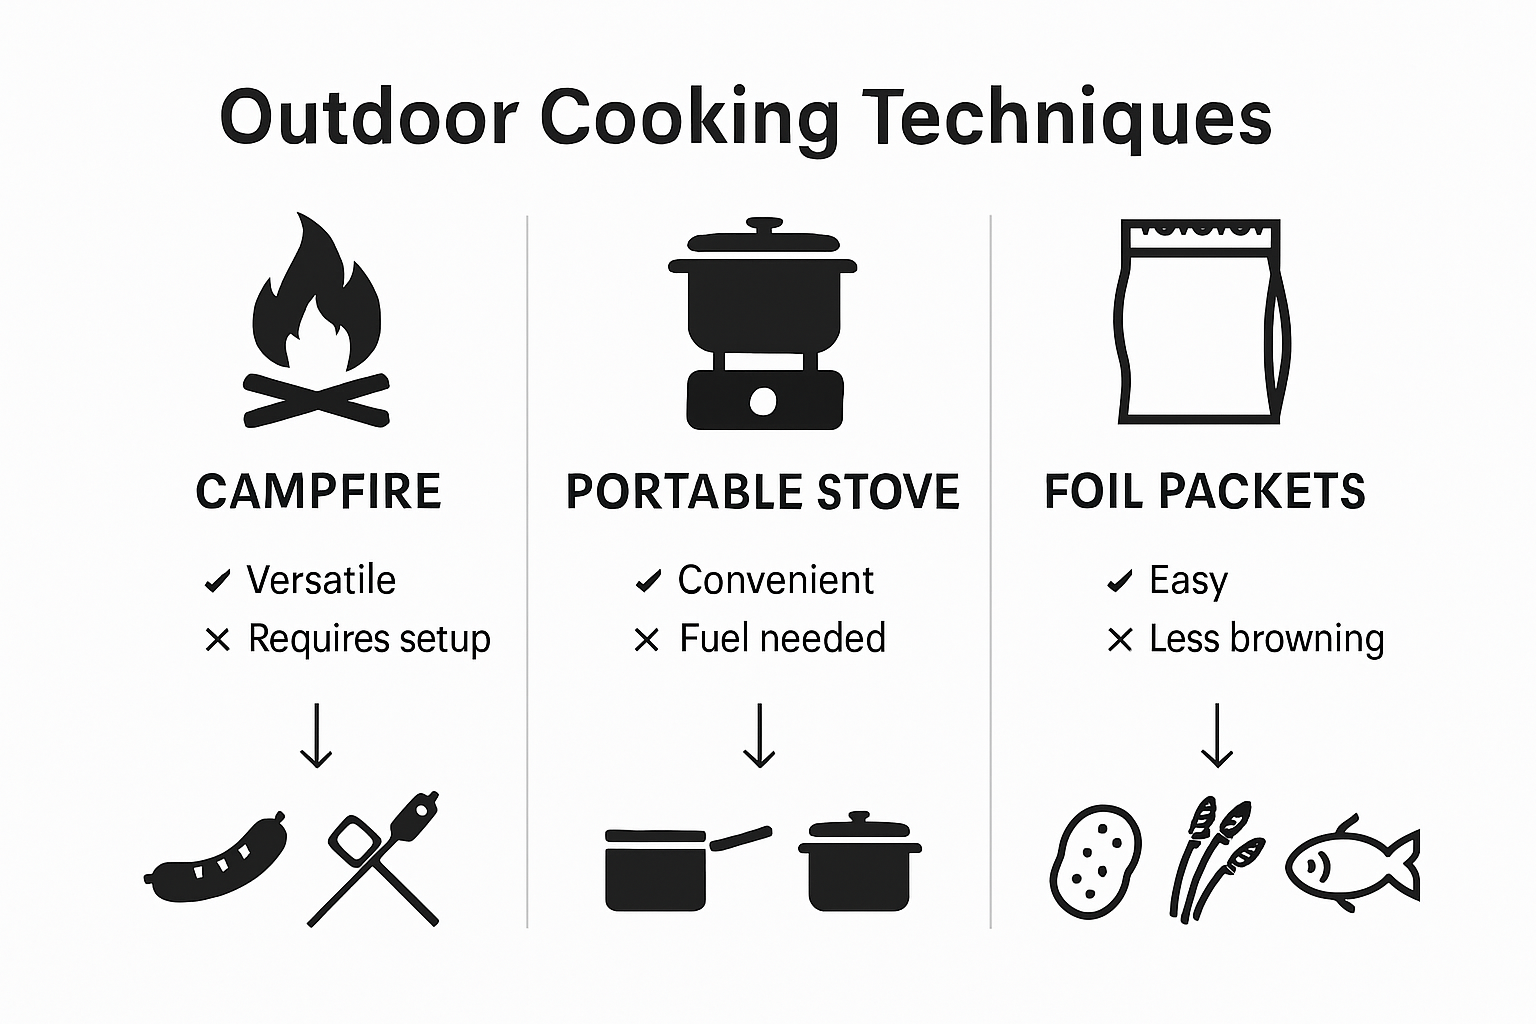
Practice different cooking methods based on your heat source. For campfires, learn to create different heat zones by arranging coals or wood to provide direct and indirect cooking surfaces. With portable stoves, master temperature control by adjusting flame levels and using windscreens to maintain consistent heat. Consider cooking methods like grilling, skillet cooking, and steaming that work well in outdoor environments. Always keep your cooking area clean, use long handled utensils to prevent burns, and have a designated workspace for food preparation.
Pro tip: Bring aluminum foil as a multipurpose cooking tool. You can create cooking packets, use it as a windscreen, wrap and store leftovers, or even clean your grill grate by crumpling it into a makeshift scrubber.
Step 5: Serve and Verify Meal Quality Safely
The final stage of outdoor cooking involves more than just plating your meal. Ensuring food safety and quality is crucial to preventing foodborne illnesses and enjoying your wilderness culinary experience.
Outdoor cooking safety protocols emphasize the importance of proper food handling and temperature verification. Use a digital meat thermometer to check that proteins reach safe internal temperatures meats should hit 165 degrees Fahrenheit, poultry at 165 degrees, and fish at 145 degrees. Bring separate cutting boards for raw and cooked foods to prevent cross contamination. Pack disposable gloves and hand sanitizer to maintain hygiene when handling food in environments with limited washing facilities.
Prepare your serving station with clean utensils and appropriate dishware designed for outdoor use. Lightweight, durable plates and utensils made from materials like enamel or hard plastic work best in camping environments. Keep hot foods hot and cold foods cold by using insulated containers or coolers with ice packs. Store leftovers immediately in sealed containers and place them in a cooler within two hours of cooking to prevent bacterial growth. Clean your cooking and serving surfaces thoroughly after each meal using biodegradable soap and hot water or sanitizing wipes.
Pro tip: Always pack a small first aid kit with basic medical supplies in case of minor food related issues or accidental burns during your outdoor cooking adventure.
Elevate Your Camping Meals With Expert Outdoor Cooking Guidance
Mastering outdoor cooking requires more than just following steps it means overcoming challenges like selecting a safe cooking site managing fire heat sources and using outdoor cooking techniques confidently. This article highlights important pain points such as maintaining fire safety controlling heat for even cooking and ensuring food safety for enjoyable camp meals.
At Tent Explorer we understand these struggles and goals deeply Our Outdoor Living – Tent Explorer category offers practical advice and gear recommendations to help you build the perfect campsite kitchen.
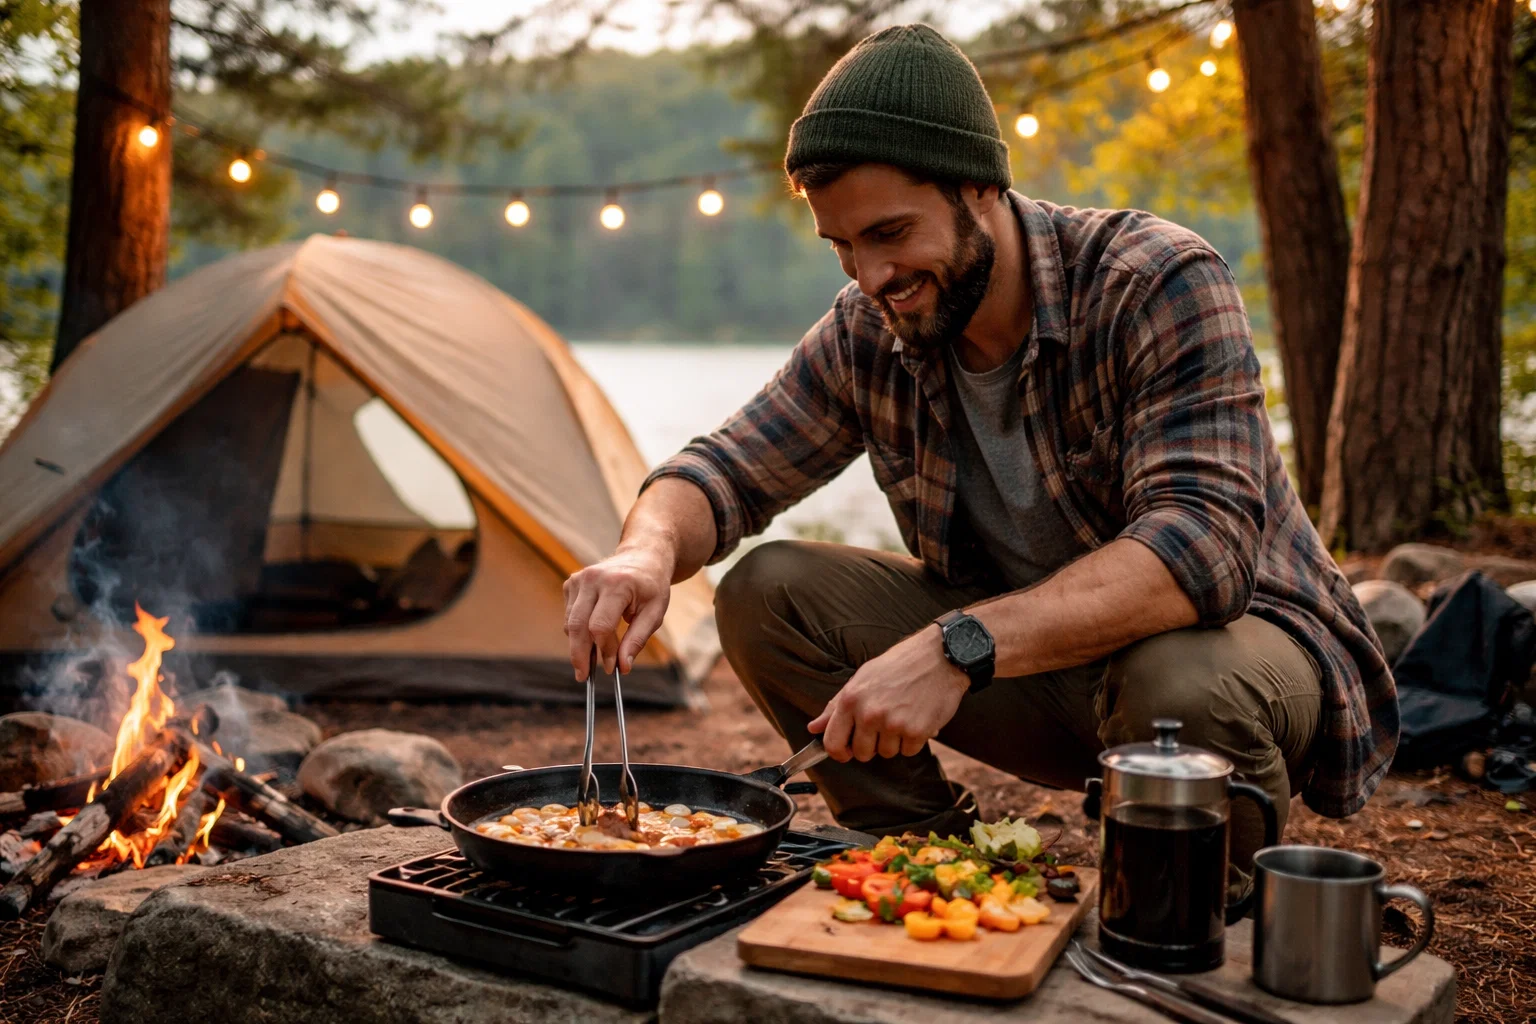
Ready to transform your camping meals into memorable experiences Discover expert tips detailed gear reviews and step-by-step guides designed to boost your outdoor cooking confidence Visit Tent Explorer now and start planning your next adventure with unbeatable knowledge. Don’t wait because great campfire meals start with smart preparation and the right insights from our trusted community.
Frequently Asked Questions
How do I choose the best site for outdoor cooking while camping?
Selecting the best site for outdoor cooking involves finding level ground at least 15 feet away from your tent and flammable materials. Look for a spot free from overhanging branches and use natural windbreaks like rocks or bushes for safety. Ensure you prepare the area by clearing away dry leaves and twigs to minimize fire hazards.
What essential gear should I pack for outdoor cooking?
Packing a compact but comprehensive cooking kit is vital for successful outdoor meals. Include items like a lightweight camping stove, nesting pots and pans, heat-resistant utensils, and a sharp camping knife. Prioritize multipurpose tools and consider adding collapsible containers for food storage.
How can I manage my fire or heat source effectively while cooking outdoors?
To manage your fire or heat source effectively, choose between a portable camping stove or a campfire for reliable heat. Start with a moderate flame, adjust as needed, and use a controlled fire pit for campfires. Keep safety equipment nearby and never leave your fire unattended.
What techniques should I use for cooking meals outdoors?
Utilizing techniques like one-pot campfire recipes or foil packet cooking simplifies outdoor meal preparation. Cast iron skillets provide even heating, while pre-prepping ingredients can streamline the cooking process. Practice cooking methods like grilling and steaming according to your chosen heat source.
How do I ensure food safety and quality when serving my outdoor meals?
Ensure food safety by checking that proteins reach safe internal temperatures using a digital thermometer. Use separate cutting boards for raw and cooked foods to avoid cross-contamination, and store leftovers in sealed containers within two hours of cooking. Clean your utensils and serving areas thoroughly after each meal to maintain hygiene.
What are some practical tips for maintaining a clean cooking environment while camping?
Maintain a clean cooking environment by packing biodegradable soap and quick-dry towels for easy clean-up. Use trash bags to collect waste, and establish a designated workspace for meal prep. Consider rinsing any cooking gear immediately after use to prevent residue build-up.